
Jimmy Eat World merch designs
Visual Design
User Research
Merchandising
I’ve been a fan of Jimmy Eat World for years, so I made a small series of merch concepts as a personal project. Each piece pulls from a different era or album, with the goal of trying out styles I don’t usually get to use in client work.
-
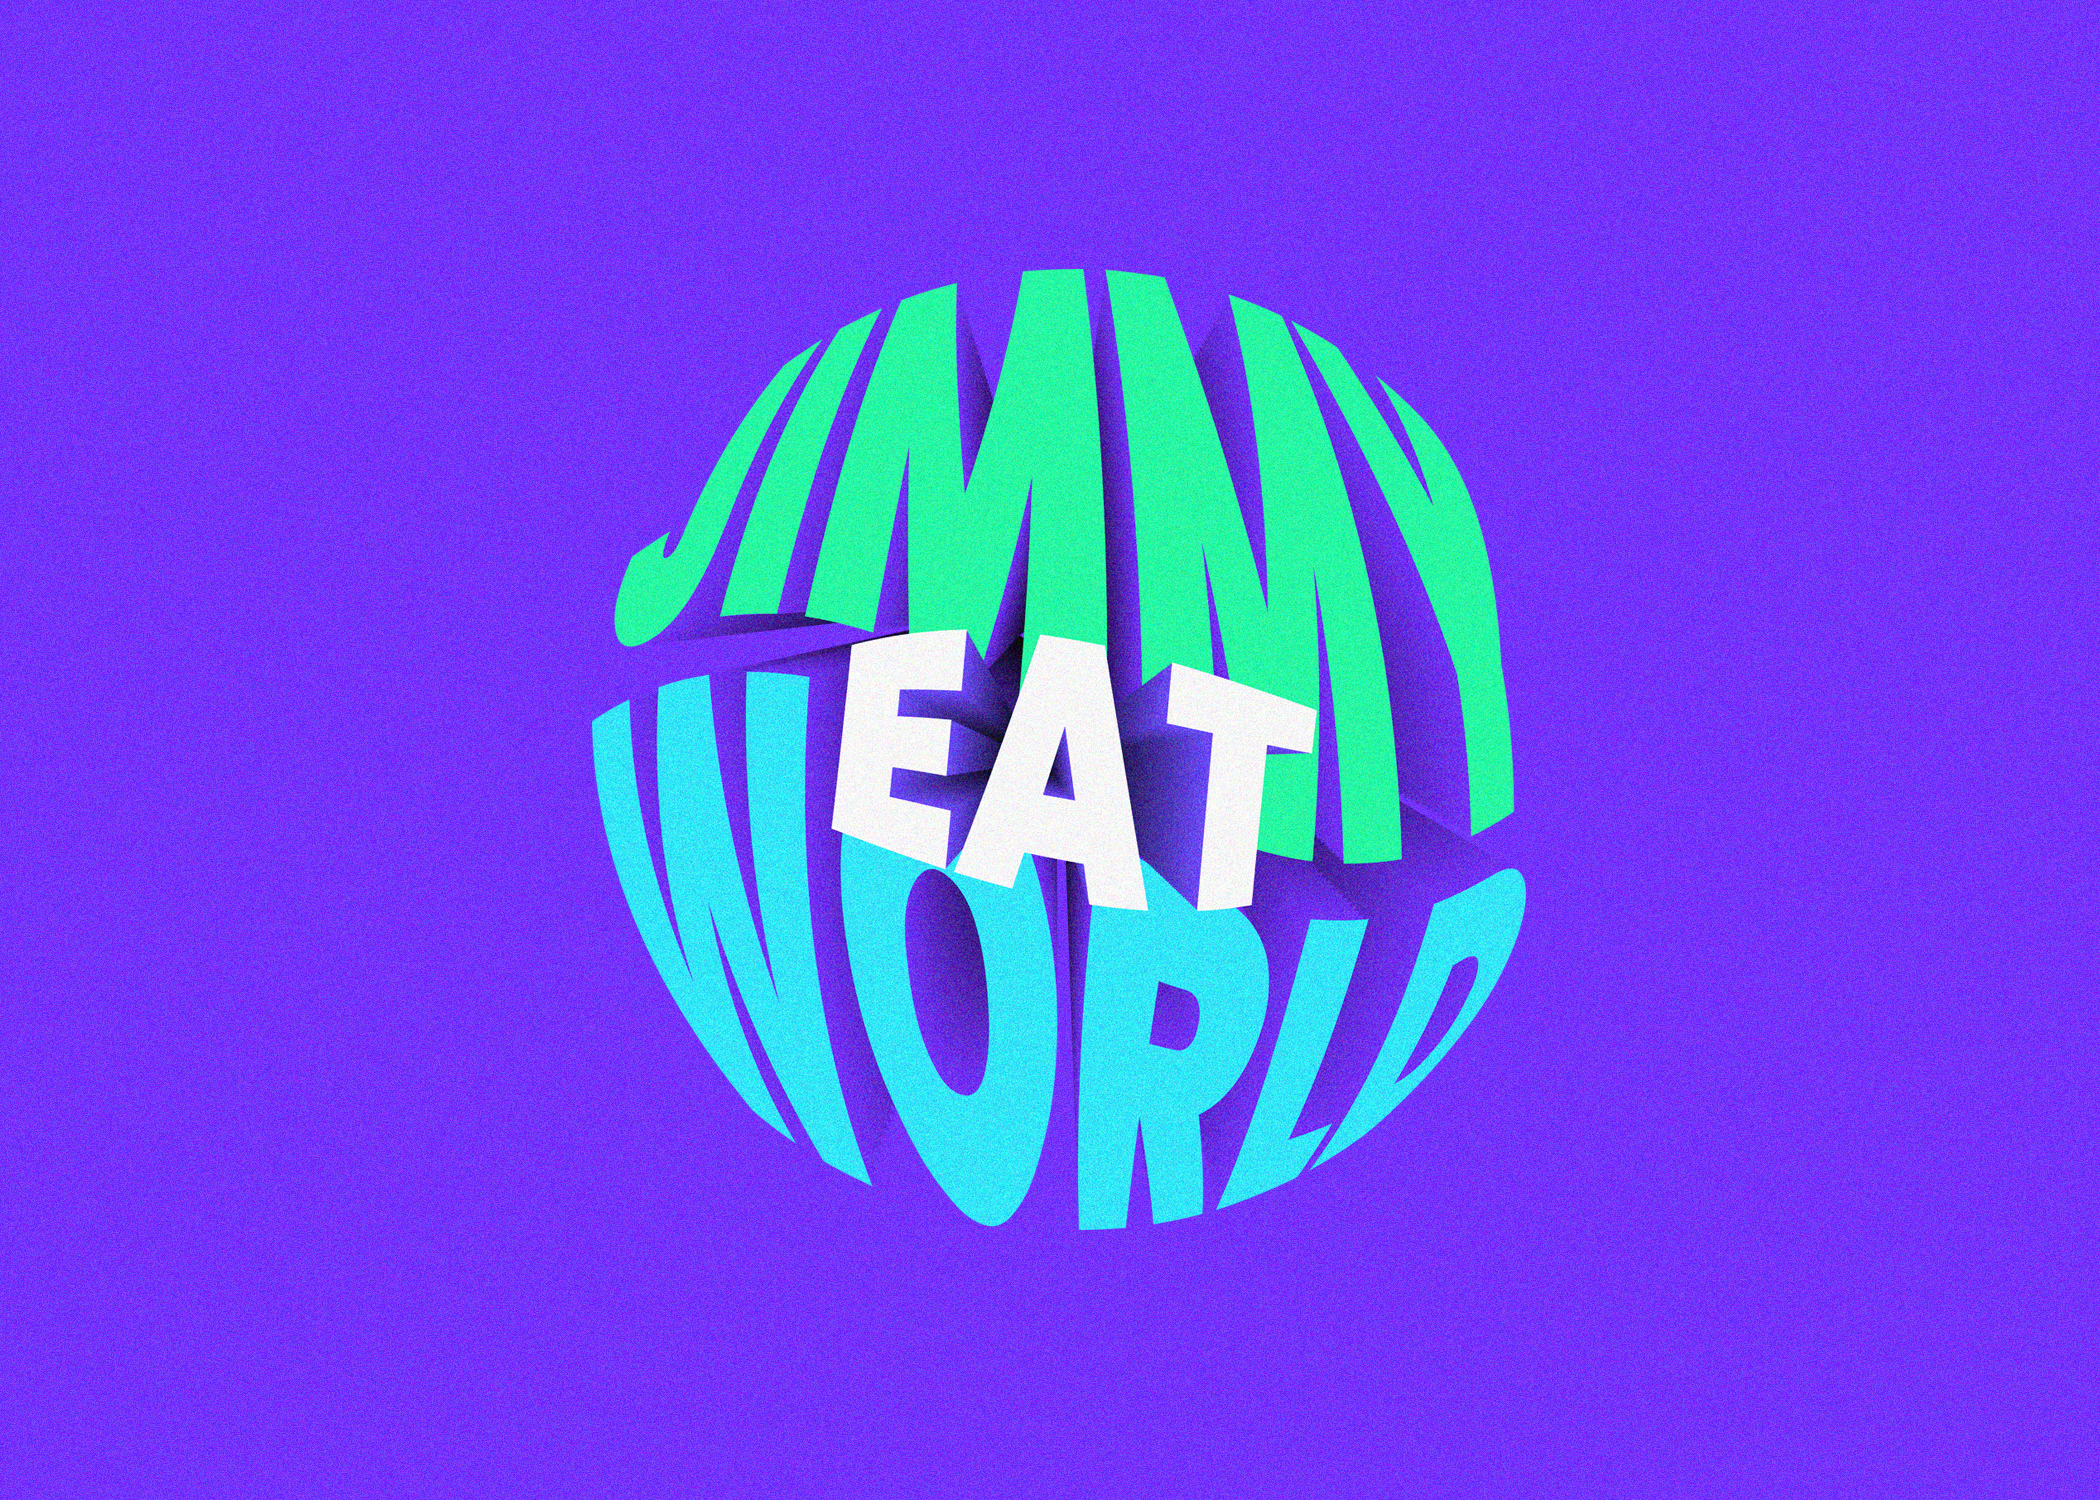
Pop Logo
A playful take on the band’s name wrapped around a 3D sphere - loud, chunky, built to work as a sticker or pin. I wanted something from their catalog that didn’t take itself too seriously.
-

Futures Poster
A tribute to the Futures album, with the title spiraling into a vanishing point to mirror how dense and layered that record feels. The color swatches at the bottom pull directly from the original album palette.
-

Phoenix Circle
A nod to the band’s post Chase This Light phoenix logo. I liked the challenge of keeping it minimal - two colors and a lot of negative space doing most of the heavy lifting.
approach
goal
challenges
My goal was to design pieces that fans would be excited to wear, especially at local shows, enhancing their concert experience and sense of community.
Capturing the Band's Essence: Ensuring the designs accurately reflected the band's style and the emotions their music evokes.
Balancing Creativity with Marketability: Creating unique designs that would also appeal to a wide audience and sell well at shows.
Technical Constraints: Managing design specifications for various merchandise formats, such as t-shirts, posters, and accessories, while maintaining quality and consistency.
process
1. Research and Inspiration
I immersed myself in the band's discography, past merch designs, and fan culture to gather inspiration and understand what would resonate with fans.
2. Concept Development
I sketched several concepts, focusing on themes and visuals that are synonymous with Jimmy Eat World. This included references to their lyrics, album art, and the overall vibe of their music.
3. Feedback Loop
I shared initial designs with fellow fans and friends for feedback, which helped refine the concepts and ensure they struck the right chord.
4. Finalization
Using Adobe Illustrator and Photoshop, I created the final versions of the designs, paying close attention to detail and ensuring each piece was print-ready.
5. Mockups and Presentation
I created mockups to visualize how the designs would look on various merchandise items. This helped in making necessary adjustments and finalizing the products.